- About
- Products
- Services
- Gallery
- Send A File
- Blog
- Reviews
- Contact

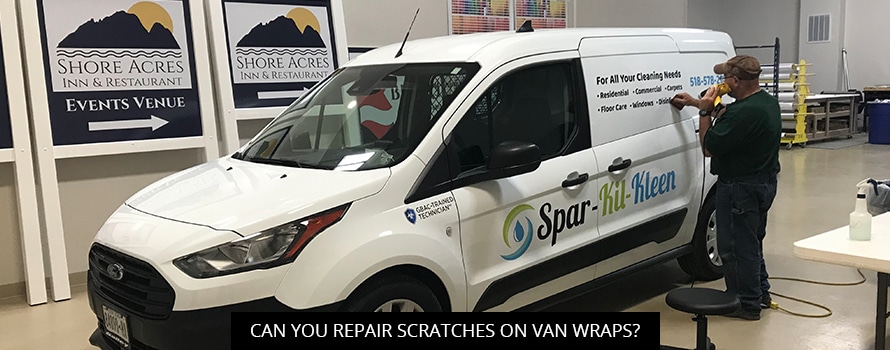
It cannot be denied that vehicle Graphics make your vehicle look super attractive and interesting to represent your business in a publicly enticing manner that makes people more motivated to interact with your brand, products and services. But sometimes they may be able to sustain scratches that then look unsightly. This may lead someone to wonder if it is possible for such marks on vehicle graphics to be repaired. We here at Plattsburgh Creative Signs are glad to let you know that the good news indeed is that scratches on vehicle graphics can be fixed.This is really great for those who tend to be conscious about extra expenses and who need a way to be able to ensure the extended life of your graphics for as long as possible. Therefore, for your benefit, we mention how it is possible to be able to repair such marks.
The fact is that the extent of the damage will determine if it is possible to make the repairs. Sometimes scratches can be so extensive that it will then be necessary to get a new complete graphic. However, in many cases, it is highly feasible to undertake the fixing of the scratches. When the damage to the vehicle is so extensive that there is the need to get some replacement panels or to have some body work done, etc., then it is best to get a new wrap. It is best to assume that if the gouge tends to be in excess of four inches in height and twelve inches in length, then it is necessary to get a new wrap for the van. Then consideration must also be given to the location of the damage. When there is a gouge that is highly visible on a door panel or on the center area of the hood, then there is the need for the film to be completely replaced instead of fixed. On the other hand, if the gouge happens to be in the region of a corner, or a crease, or the edge of the vehicle, then the repair indeed should be quite manageable.
When you decide to make an effort to fix the film of your vehicle that has been damaged with scratches, you will need access to some tools as well as supplies. There will be the need to get some vinyl. It should be the same kind that was used for the original graphic. In addition, you will require the usage of a heat gun, a microfiber towel, a seal-it pen, sealant tape, a razor blade as well as a squeegee.
Follow the steps that we mention here. Your repairs should turn out pretty decent for you.
You should use a combination of dish soap that is gentle and some water that is warm for the sake of cleaning the region that has become scratched. Be sure to use a microfiber towel due to it being soft and not inflicting further damage to the problem area. Hence, it is necessary to remove grease, debris as well as wax from the van prior to performing any form of work in regard to repairs of the scratched regions. In such a case that the part of the film that encircles the damaged region has experienced the occurrence of lifting, you should use caution while you are trimming it apart from the rest of the remaining entity. Then, it will be time to apply the seal-it pen, as it is necessary to ensure that the edges are sealed in an adequate manner. This also will serve to ensure the prevention of moisture from being able to make its way below the filling.
You will require a patch to cover the damaged area. Thus, you will make the patch yourself by first measuring the right size of the patch and cutting it from the vinyl. The backing must be removed from one corner and then you will apply the squeegee, so that it is able to transfer the film onto the desired region as you pull the liner away in a slow manner. This will serve to keep any dust or dirt from being able to slip under the vinyl. With the squeegee, work in up and down motions while being careful to ensure the removal of the presence of any bubbles in the vinyl.
In order to experience the vinyl being less of a struggle to stretch, you can apply the heat gun. But at the same time, you should exercise caution in making sure that you do not stretch the vinyl too much. As you apply the heat, you will use the squeegee to help the vinyl to adhere well to areas that are curved as well as areas where there are creases. The scratch is then well fixed with the application of the film completed.
The final steps include using a razor blade in order to trim away the presence of any extra film as well as using some good quality sealant tape. The tape will serve to prevent any dust, dirt as well as moisture from settling under the film. In addition, the tape is added security to keep the patch in place. Your repair should look pretty decent. Allow at least one hour for the repair in order to achieve the best outcome. If you would like to discuss with us our options pertaining to gorgeous, durable van wraps for your business vans, contact us today.
Back